
MENU
MENU
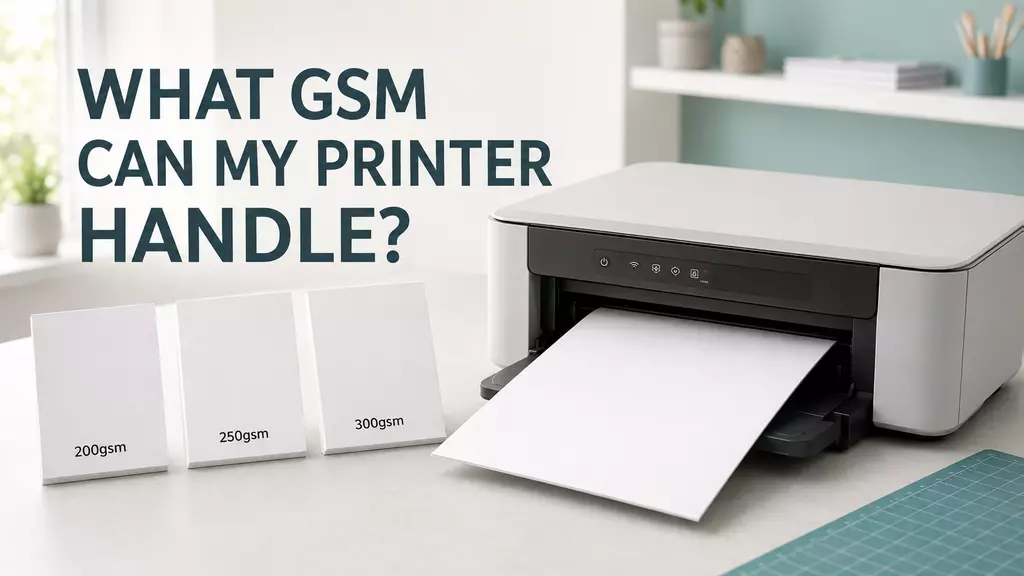
So, what GSM can your printer actually handle?
The honest answer is that every printer is different. Some home printers happily accept thick card, while others become deeply offended by anything sturdier than ordinary copier paper. The maximum GSM also depends on the printer’s feed path, settings and the finish of the material—not just the number printed on the packet.
This guide explains how to check your printer’s card capacity, what common paper weights are used for and how to improve your chances of printing successfully without creating an expensive paper jam.
GSM stands for grams per square metre. It describes how much one square metre of a particular paper or card weighs.
Generally, a higher GSM means a heavier and sturdier sheet:
If you are still deciding which weight suits your project, read our complete guide to which weight of card you should use.
Not necessarily. GSM measures weight rather than exact thickness.
Two sheets can have the same GSM but feel noticeably different. A dense, highly compressed card may be thinner and more rigid, while a bulkier card of the same weight may feel thicker and softer.
This matters because printers do not simply weigh each sheet before deciding whether to let it through. The printer must physically bend, grip and transport the material through its internal rollers.
A bulky 250gsm card could therefore be harder for one printer to feed than a denser 300gsm card. GSM is an excellent starting point, but it is not the whole story.
| Paper or Card Weight | Typical Printer Compatibility | Common Uses |
|---|---|---|
| 80–120gsm | Suitable for most home and office printers | Documents, letters and everyday printing |
| 130–160gsm | Accepted by many standard printers | Flyers, leaflets, inserts and posters |
| 170–200gsm | Often accepted, but specifications should be checked | Light card, menus, certificates and crafts |
| 220–250gsm | May require a rear or manual feed tray | Invitations, greeting cards and presentation covers |
| 280–300gsm | Usually requires a printer specifically designed for heavier media | Premium cards, invitations, covers and tags |
| 350gsm and above | Generally requires specialist or commercial printing equipment | Heavy cards, tags, packaging and display work |
Important: This table is a general guide, not a guarantee. Always check the specifications for your exact printer model before buying or printing on card.
Start by locating your printer’s model number. This is normally shown on the front, top or back of the machine.
Search online for the model number followed by one of these phrases:
The manufacturer’s manual or technical specification page should list the supported media weights. Check every tray separately because the maximum can differ between the main cassette, rear tray and manual feed slot.
Be careful when reading specifications shown in pounds or “lb”. There are different American paper-weight systems, so a simple conversion may not always provide an accurate GSM equivalent.
Many printers take paper from a lower cassette, pull it around rollers and turn it sharply before printing. Ordinary paper bends around this route easily. Heavy card is far less cooperative.
A rear or manual feed tray often provides a straighter route through the machine. This reduces the amount of bending and may allow the printer to accept heavier materials.
If your printer has more than one feeding option, consult the manual to see which tray is recommended for cardstock, labels or heavyweight media.
Do not simply load thick card and press print using the normal paper setting. The media setting can affect feed speed, roller pressure, ink application and—in a laser printer—the temperature used to fuse toner onto the sheet.
Look for settings such as:
Select the closest setting recommended by the printer manufacturer. Load only a few sheets initially and make sure the adjustable guides are touching the edges without gripping them too tightly.
Many home and office printers can print on 200gsm card, although compatibility is never universal.
A4 200gsm smooth white card is a useful choice for certificates, menus, lightweight invitations, craft projects and printed inserts. It feels much more substantial than ordinary paper while remaining relatively flexible.
If you have never printed on card before, 200gsm is often a more sensible starting point than immediately presenting your printer with something resembling a roof tile.
Some home printers can handle 250gsm card, particularly through a rear or manual feed tray. Others cannot, so the manufacturer’s specifications remain essential.
A4 250gsm smooth white card provides a sturdier result for invitations, menus, presentation covers, certificates and card-making projects.
At this weight, the feed path becomes increasingly important. Test one sheet before filling the tray, and never force card into a machine that is struggling to accept it.
Yes—but only if your printer is designed to handle it.
A4 300gsm smooth white card is a popular choice for premium invitations, greeting cards, covers and craft projects. However, it is too heavy for many ordinary home and office printers.
Look for a printer specification that explicitly supports 300gsm media, preferably through a straight or rear feed path. If the published maximum is 220gsm or 250gsm, trying 300gsm because it is “only a little bit heavier” is not advisable.
Printers have limits. Much like people, they rarely appreciate those limits being treated as vague suggestions.
Yes. You must consider both the weight and the surface of the paper.
Inkjet printers spray liquid ink onto the surface. Uncoated matte card is usually the most straightforward option, provided the printer supports the GSM.
Print quality can vary according to the card’s absorbency, surface texture and the type of ink being used. Allow printed sheets to dry fully before stacking, cutting or folding them.
Laser printers use heat and pressure to fuse toner onto the material. The card must be suitable for laser printing and capable of travelling safely through the machine.
Always choose the correct heavy-paper setting. This may slow the sheet down and adjust the fusing process to help the toner bond properly.
A printer capable of accepting a particular weight does not automatically accept every material produced at that weight.
Surface finish matters enormously. Gloss and silk materials have coated surfaces, so the printing technology must be compatible with that coating.
Our gloss and silk paper and card is designed for laser and digital printing only. It is not suitable for inkjet printing.
Inkjet ink may sit on top of the coated surface instead of absorbing correctly, leaving it wet, smeared or easily rubbed away. For a fuller explanation, read our guide to why silk paper smudges on inkjet printers.
The same basic rules apply to coloured paper and card and brown kraft paper and card: check the GSM, confirm the printer can handle it and test a small quantity first.
Remember that the material’s colour will affect the printed result. Home printers generally do not print white ink, and pale ink colours may become difficult to see on dark or brown card.
Black, dark blue and other strong colours usually provide the clearest results on kraft card, but the final appearance can vary according to the printer, ink or toner and the card surface.
Common causes include:
If a sheet jams, follow the manufacturer’s removal instructions. Pulling it aggressively in the wrong direction can leave fragments inside or damage the rollers.
Heavy card can crack or produce an untidy fold if it is simply bent in half. Scoring creates a controlled line that helps the card fold cleanly and accurately.
If you are producing greeting cards or invitations, our pre-scored white card blanks remove the need to score every sheet yourself. They are supplied flat with a crease already applied, ready for printing and folding.
Before printing, check that your printer can accommodate the full flat size—not merely the finished folded dimensions. Our complete guide to cardstock sizes can help you compare common dimensions in millimetres and inches.
There is no single card weight that works with every printer. The best choice is one that suits your project, stays within the manufacturer’s media specifications and has a surface compatible with your printing method.
As a simple starting point:
Explore our complete collection of white paper and crafting card, available in numerous sizes and weights. If you are unsure which card will work, order a small quantity and test it before beginning the main job.
It depends entirely on the printer. Some home printers are limited to relatively lightweight media, while others can accept 250gsm or even 300gsm card through a rear or manual feed. Check the technical specifications for your exact model and tray.
No. Many ordinary printers cannot safely feed 300gsm card. Use it only when the manufacturer explicitly states that the printer supports that media weight.
Many home printers can handle 200gsm card, making it a popular choice for invitations, certificates, menus and craft projects. Printer capabilities still vary, so specifications should always be checked.
If your printer has a rear or manual feed designed for heavyweight media, this is often the best option because it may provide a straighter paper path. Follow the instructions for your particular printer.
Choose the setting recommended by the manufacturer. It may be labelled Cardstock, Heavy Paper, Thick Paper or Speciality Media. Avoid using the ordinary paper setting unless the printer instructions specifically recommend it.
Only use coated paper specifically manufactured for inkjet printing. Mankey Monkey silk and gloss products are intended for laser and digital printing only and should not be used in inkjet printers.
The card may be unsuitable for laser printing, or the selected media setting may not be providing the correct fusing conditions. Confirm that the material is laser compatible and choose the recommended heavy-paper setting.
Standard inkjet ink may not absorb into a coated silk or gloss surface. It can remain wet on top and smear when touched. Use inkjet-compatible coated media or switch to a suitable laser or digital printing process.
Possibly, but check whether the printer supports automatic duplex printing at that weight. You may need to turn and feed each sheet manually. Allow the first side to dry or cool completely before printing the reverse.
Yes. Printers can behave differently even when their published specifications appear similar. Testing a small quantity is the safest way to confirm feeding, print quality, drying, folding and finishing before placing a larger order.